Thinking about a DIY car window tint kit? You’re not alone. Many drivers wonder if tackling this project themselves is truly worth the effort, or if it’s better to leave it to the professionals. The promise of cost savings and a custom look is appealing, but concerns about difficulty and final appearance are real.
This honest review dives deep into the world of DIY car window tinting. We’ll compare top kits, including the popular Gila tint kit, assess real-world performance, and break down the true cost. By the end, you’ll know exactly if a car window tint kit DIY is the right choice for your vehicle.
What is a DIY Car Window Tint Kit & Who Needs It?
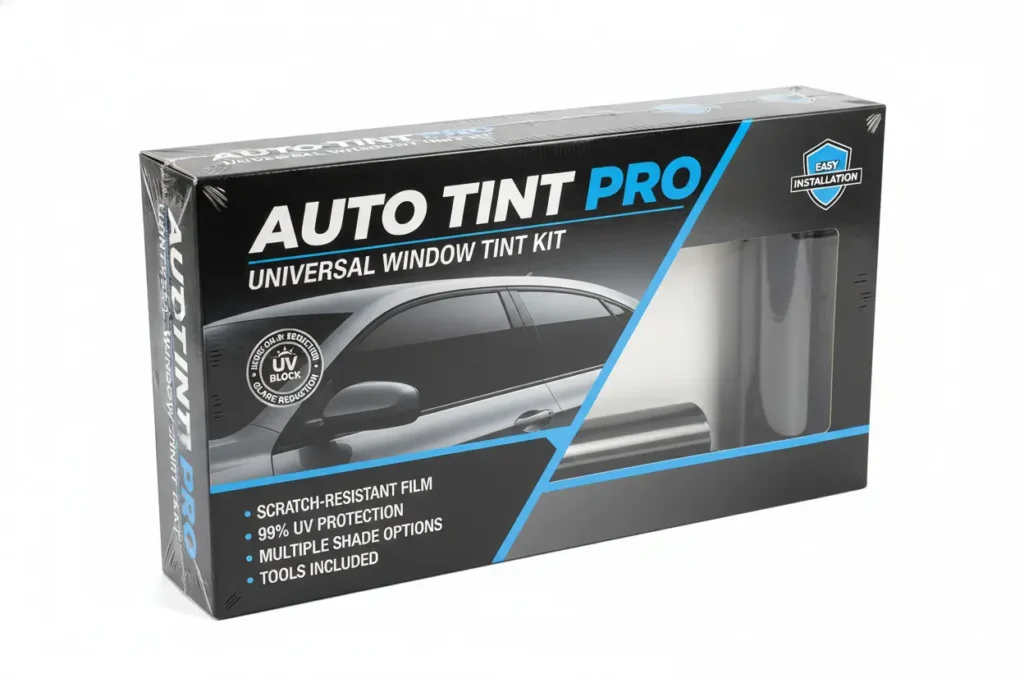
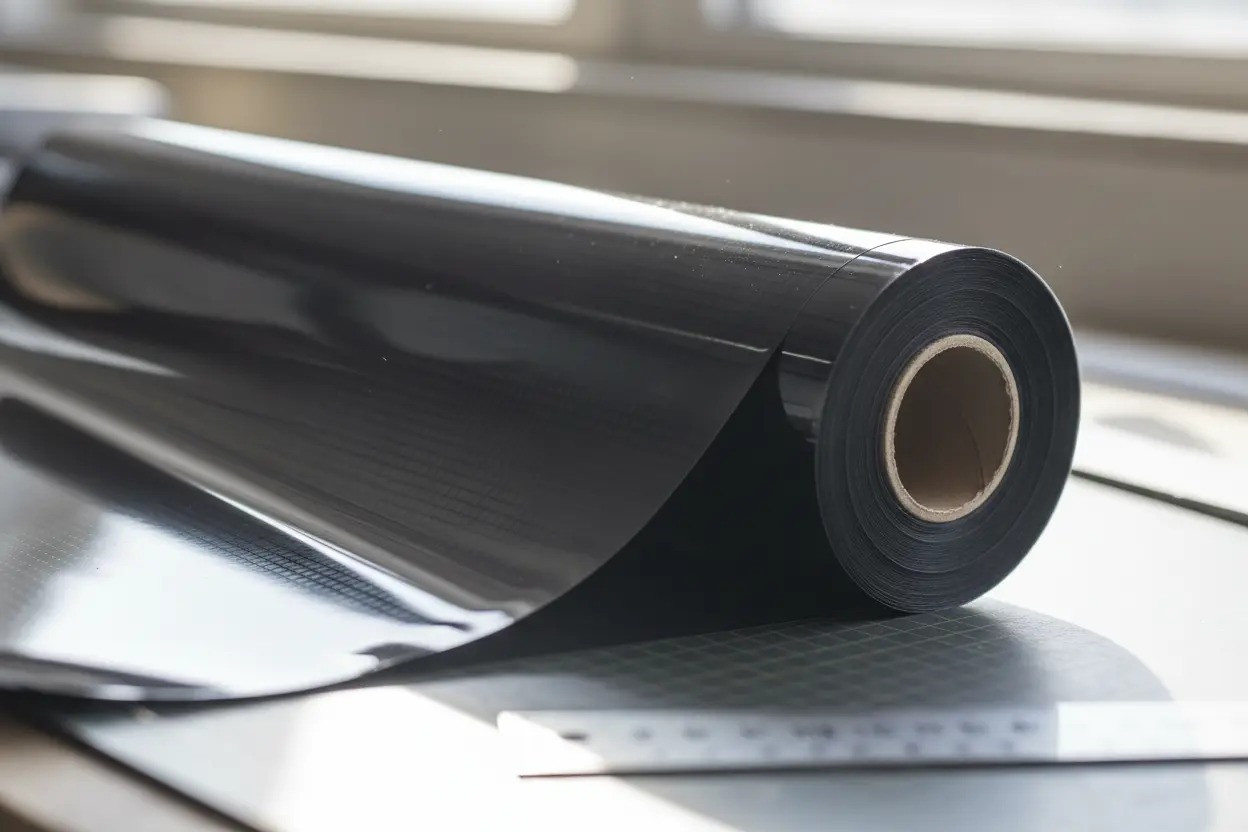
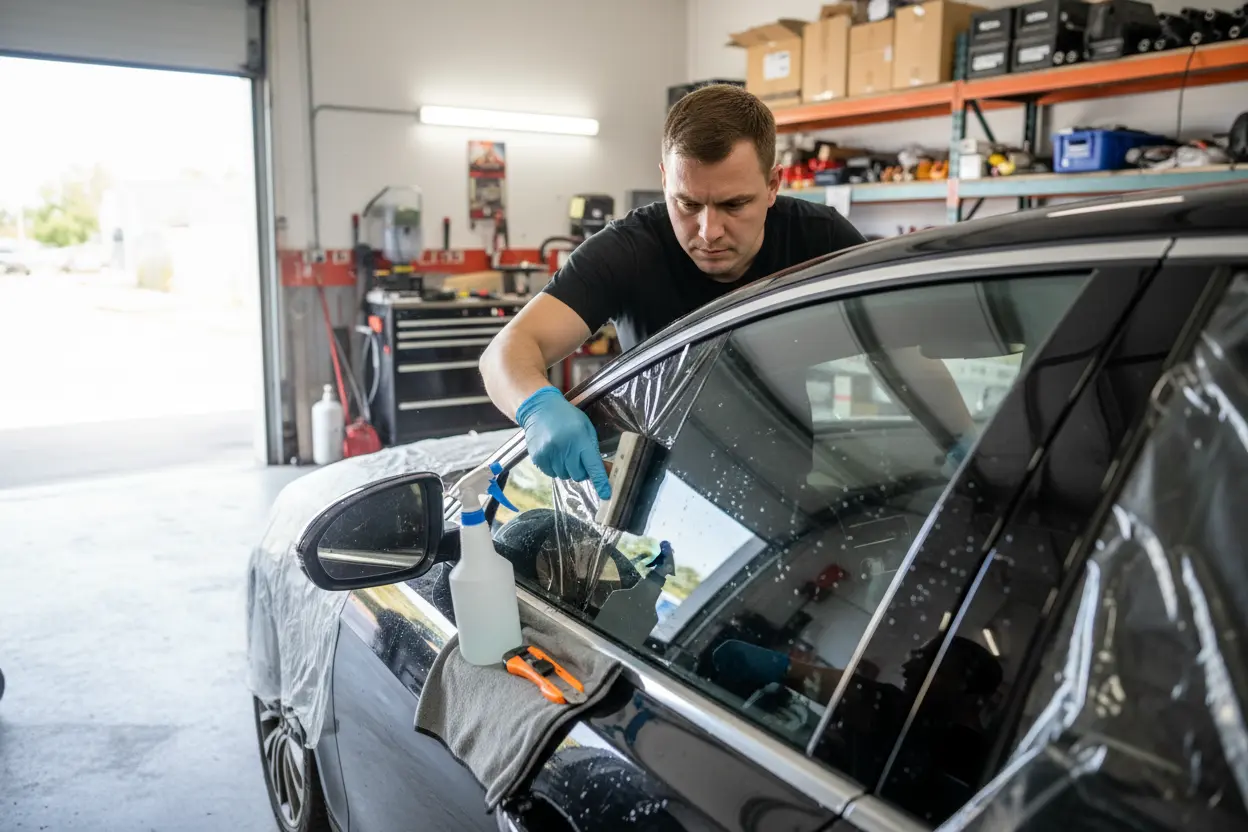
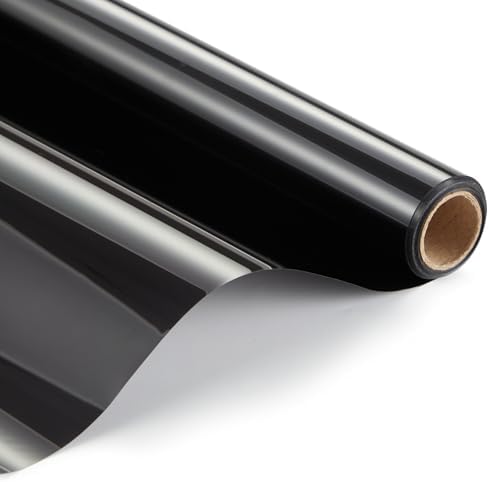
Most car owners stare at their fishbowl-clear windows and dream of that sleek, blacked-out look without wanting to drop $400 at a professional shop. A DIY car window tint kit provides a middle ground for the patient enthusiast who values their Saturday afternoon as much as their bank balance. These kits generally include rolls or pre-cut sheets of window tint film kit material designed to adhere to the interior of your glass.
| Feature | DIY Car Window Tint Kit | Gila Tint Kit |
|---|---|---|
| Ease of Installation | ⚠️ Requires patience | ✅ User-friendly design |
| Durability | ⚠️ Varies by brand | ✅ Good longevity |
| UV Protection | ✅ High (most kits) | ✅ Excellent protection |
| Price Point | ✅ Budget-friendly | ⚠️ Mid-range cost |
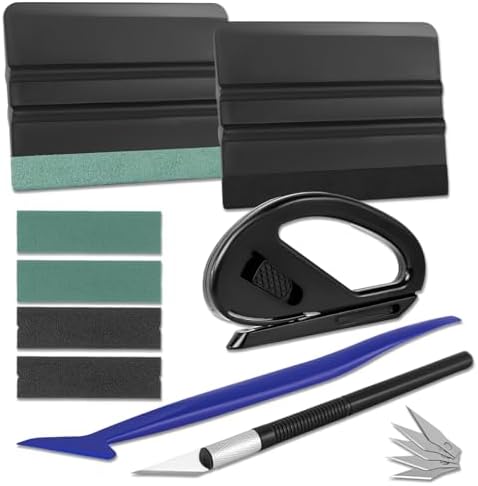
- Professional Window Tint Kit: Get everything you need for tinting and wrapping in one kit! This 14-in-1 vinyl wrap for c…
- 2 Different Vinyl Squeegee & Replacement: The suede felt squeegee removes air bubbles, smoothing vinyl wrap without scra…
- Long Stick Micro Squeegee: The micro squeegee makes car applications easier and speeds up your job. It smoothly lays car…
You don’t need to be a master mechanic to handle this project, but you do need a steady hand and an eye for detail. This solution is perfect for the driver who wants to keep their cabin cool during a Texas summer or keep prying eyes away from their gear in the backseat. Whether you are driving a beat-up work truck or a brand-new sedan, adding tint is one of the most cost-effective upgrades available today.
Shopping for these kits has become remarkably easy through major retailers like Amazon or Walmart, where prices usually range from $25 to $75 depending on the film quality. While a professional job offers a lifetime warranty, these self-install kits allow you to experiment with different darkness levels without a massive financial commitment. If you mess up a window, you can simply peel it off and try again for the cost of a single lunch.
While the primary goal is often aesthetics, the functional benefits of a basic kit are hard to ignore once the sun starts beating down. It keeps the interior plastics from cracking and saves your skin from those long-term UV rays that sneak through untreated glass. Anyone looking to refresh their car’s look on a budget will find these kits to be a tempting proposition.
Real-World Performance: How Does DIY Tint Hold Up?
Performance isn’t just about how dark the film looks on day one; it’s about how it handles the abuse of rolling windows up and down for six months. Many budget films tend to turn purple or bubble when exposed to constant heat, but higher-quality ceramic options in the DIY space have closed that gap significantly. You want a film that rejects infrared heat rather than just absorbing it, which keeps the AC from working overtime.
Heat rejection is the silent hero of a good tint job, especially during those cross-country road trips where the sun sits on your left shoulder for hours. A quality kit can drop the interior temperature by nearly 15 degrees, making the cabin feel like a sanctuary rather than a greenhouse. This performance level is usually found in kits priced around $50 to $100 on sites like eBay or specialized auto shops.
What stands out in daily use is the immediate relief you feel on your skin when that harsh glare is filtered through a proper film. In practice, I’ve found that the first few days are the real test; if you didn’t clean the glass perfectly, tiny specs of dust will reveal themselves as white dots. Once the film cures, the clarity should be sharp enough that you forget it’s even there, providing a crisp view of the road even at night.
Longevity is where the separation between cheap and premium kits becomes obvious to any observer. Lower-tier films might start to peel at the edges if the adhesive isn’t strong enough to handle the friction of the window seals. However, if you prep the surface with a dedicated tint solution and use a heat gun to shrink the film to the glass’s curvature, the results can last for several years.
Cheap kits are often dyed, which means the color is just a layer of ink that eventually fades under the sun’s relentless UV bombardment. Carbon or ceramic DIY kits are the smarter play if you plan on keeping the car for more than a season. Investing a bit more upfront at a place like AutoZone or through a reputable online dealer ensures you won’t be scraping off purple flakes in twelve months.
Buying a kit also means you are responsible for the “factory” finish, which is entirely dependent on your environment. If you try to install this in a windy driveway, you will fail; a clean, closed garage is a non-negotiable requirement for professional-grade performance. When done right, the heat rejection and glare reduction are indistinguishable from a shop that charges five times the price.
DIY Car Tint Kit vs Gila Tint Kit: Which One Wins?
Choosing between a generic DIY car window tint kit and a name-brand Gila tint kit often comes down to how much hand-holding you want during the process. Gila has dominated the shelves of big-box retailers for years because they provide comprehensive instructions and specialized tools. Their films are generally thicker, which makes them slightly more forgiving for a first-timer who might be prone to creasing the material.
The Gila tint kit also offers a unique static cling version for those who are absolutely terrified of permanent adhesives. This is a game-changer for renters or people who want to test the look before committing to a permanent film. However, the traditional adhesive-backed Gila films are their real bread and butter, offering solid heat rejection that rivals many professional entry-level products.
If you are looking for something a bit more tailored, the Lexen tint kit is the third player that often beats both in terms of convenience. Lexen specializes in pre-cut kits that are laser-trimmed to your specific vehicle’s make and model year. This eliminates the most stressful part of the job: taking a razor blade to your own car’s window seals and hoping for a straight line.
Pricing for a Lexen set usually sits around $60 on Amazon, which is a bit higher than a generic roll but significantly easier to manage. Gila falls into the $30 to $50 range at Walmart, making it the king of the “I need this right now” purchase. Generic kits are the cheapest, sometimes under $20, but they require you to do all the heavy lifting of measuring and cutting from a raw roll.
Performance-wise, Gila’s heat-shield technology is well-documented and reliable for the price point. Generic kits can be a gamble; you might get a high-quality carbon film, or you might get a piece of plastic that smells like chemicals when it gets hot. When you go with a brand like Gila, you are paying for the consistency of the manufacturing process and the peace of mind that the film won’t delaminate.
Ultimately, the “winner” depends on your skill level and your willingness to use a blade. If you are confident in your cutting skills, a generic roll offers the best value per square inch. If you want a kit that was designed by people who understand the DIY struggle, Gila is the safer bet for a clean finish on your first attempt.
Pros and Cons of DIY Car Window Tinting
- Massive Savings: You can tint an entire SUV for the price of a single window at a professional shop.
- Customization: You have total control over which windows get which shade, allowing for a personalized look.
- UV Protection: Even budget kits block 99% of harmful rays, protecting your skin and your car’s interior.
- Learning Experience: Mastering the squeegee and heat gun is a satisfying skill that stays with you.
- Immediate Availability: You can buy a kit at a local store and have it installed by sunset.
- Dust Bubbles: Without a cleanroom environment, it is nearly impossible to avoid every single speck of dust.
- Legal Risks: It is easy to accidentally buy a film that is darker than your state’s legal limit.
- Creasing: One wrong move during the “wet” phase can ruin an entire sheet of film instantly.
- Rear Window Difficulty: Dealing with the compound curves of a back windshield is a nightmare for beginners.
- Removal Pain: If you mess up, removing the adhesive can be a sticky, hours-long ordeal.
Car Window Tint Kit Price & Where to Buy Best Deals
Navigating the car tint kit price landscape requires knowing the difference between the material types. A basic dyed film kit will cost you between $15 and $30, but I generally recommend avoiding these unless you are on a strict budget. Carbon kits usually jump to the $40 to $60 range, while high-end ceramic kits—the gold standard for heat rejection—will run between $80 and $120.
Finding the best DIY tint deal usually involves checking Amazon’s “Daily Deals” or looking for bundle offers at Walmart and Advance Auto Parts. Often, these retailers will package the film with a “Tint Application Kit” that includes a spray bottle, specialized squeegees, and a low-lint cloth. Buying these together can save you $10 compared to purchasing the tools separately, which adds up if you are tinting multiple vehicles.
Specialized online stores like SnapTint or PrecutAutoTint offer the most precision, though they rarely have the rock-bottom prices of Amazon. These sites are better if you have a rare car model where a “one size fits all” roll just won’t cut it. They often charge a premium for the custom cutting service, but it saves you from the risk of scratching your glass with a utility knife.
eBay is another stronghold for finding bulk rolls of professional-grade film at wholesale prices. If you have three or four cars in the family that need work, buying a 50-foot roll is the most economical way to go. Just ensure the seller has high ratings and specifies the film’s construction (carbon or ceramic) to ensure you aren’t getting old, low-quality stock.
Local hardware stores occasionally carry Gila products, but their selection is usually limited to the most popular shades like 20% or 35%. For the widest variety of “VLT” (Visible Light Transmission) levels, online marketplaces remain the undefeated champions. You can find everything from 5% “limo tint” to nearly clear 70% ceramic films that strictly focus on heat rejection without changing the look.
Always factor in the cost of a heat gun if you don’t already own one. While some people try to use a hair dryer, it simply doesn’t get hot enough to properly shrink the film to the glass. Budgeting an extra $20 for a basic heat gun from Harbor Freight will make the difference between a professional-looking job and a bubbly mess that peels off in a week.
- Block Heat & UV: Effectively blocks 99% of harmful UV rays and a significant portion of infrared radiation, drastically …
- Crystal-Clear Privacy: Provides excellent one-way privacy during the day with various VLT options (3%, 5%, 15%, 20%, 35%…
- Enhanced Safety & Scratch Resistance: Constructed with premium nano-ceramic materials, the film enhances window strength…
Final Verdict: Is a DIY Car Window Tint Kit Worth It?
YES. A DIY kit is absolutely worth the investment because it offers a high-impact aesthetic and functional upgrade for less than the cost of a tank of gas. If you have a steady hand and a clean garage, there is no reason to pay a professional hundreds of dollars for a job you can tackle in an afternoon.
Check out the latest deals on DIY tint kits here and start your project this weekend!
FAQ – Common Questions About Car Window Tint Kit DIY
We’ve compiled the most frequent questions we receive from readers looking to upgrade their vehicle’s privacy and style with a car window tint kit diy.
If you are on a budget and have a steady hand, a car window tint kit diy can save you hundreds of dollars in labor costs. We believe the satisfaction of a successful home installation is well worth the time, especially for older vehicles or budget builds.
High-quality kits can last between 3 to 5 years if they are applied correctly and maintained well. While professional ceramic tints may last longer, a well-installed car window tint kit diy offers excellent value and durability for the price.
In our experience, Gila tint offers more consistent quality and better heat rejection than many generic “no-name” kits found online. Gila provides a more user-friendly application process, making it our top recommendation for beginners.
Absolutely; one of the benefits of using a car window tint kit diy is that it is reversible. If you notice bubbles or misalignment, you can peel it off and start over, though we suggest using a steamer to avoid leaving adhesive residue on the glass.
To get a professional finish, you will need a squeegee, a sharp utility knife, and a spray bottle filled with a specialized tinting solution or soapy water. We always recommend buying a complete application tool kit to ensure you don’t scratch the film during the process.